
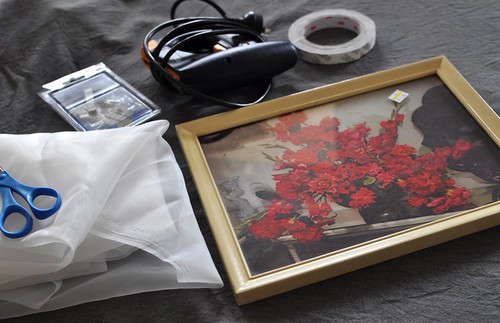
what you need:
old picture frame (thrift shop)
pliers
scissors
screen printing mesh (i found mine on ebay or a google search will turn up lots of options)
staple gun (hardware store)
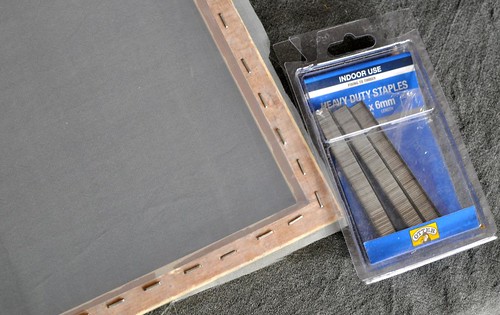
heavy duty 6mm (1/4") staples (hardware store)
good quality double sided tape (hardware store)
cloth tape (hardware store)
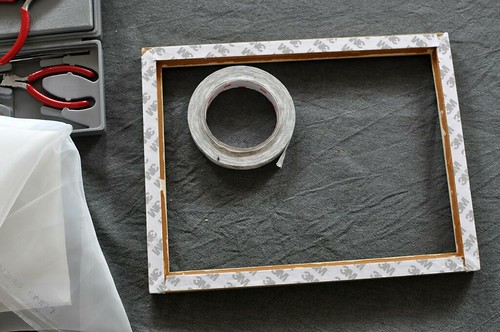
remove the glass (keep the glass if you plan on doing a photo emulsion on the screen once it's done) and backing from your frame and use the pliers to remove any leftover bits of hardware (nails, staples, etc). then apply a strip of double sided tape to each side and leave the backing on;
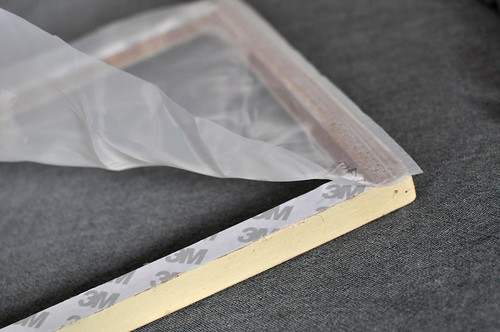
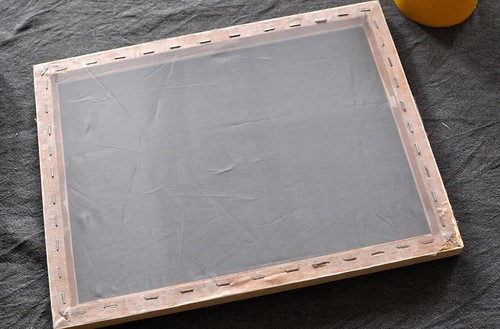
cut your mesh to the size of your frame. peel off the backing to one side of the double sided tape and adhere the mesh to that one side, as evenly and straight across as possible,and really stick the mesh into the glue left behind from the double sided tape so that it will hold;
peel the backing off the tape at the opposite side and adhere that side as well, trying to keep the mesh as straight and taut as you can. then peel off one side at a time and stick the mesh down. you want to keep the mesh as even and taut as you can when doing each side but the final side is where you will really see the results. pull it as tightly as you can, as evenly across as you can;
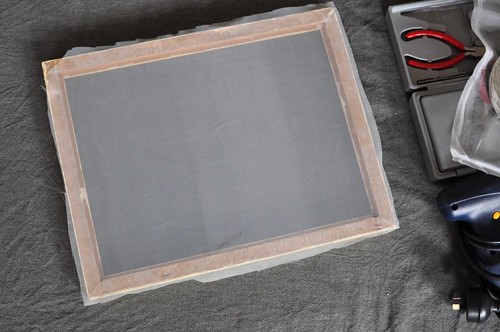
once you are happy with the tautness, use your staple gun to staple the mesh into place, stapling every couple of centimeters (half inch) or so;
neatly trim off the excess mesh hanging off the sides of the frame;

use the cloth tape to cover the staples. have the tape overlap the mesh by a couple of centimeters (depending on the size of your screen) so that when you tape the front for printing, the tape edges will line up on both sides;
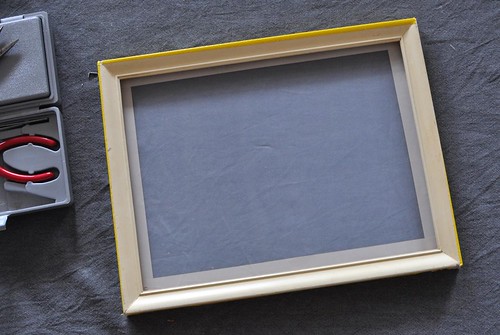
done! now this screen is ready for painting on with screen filler or a photo emulsion treatment : )
hope this helps anyone who wants to muck around with screen printing without having to outlay too much money. it really is super simple. getting the mesh taut is probably the hardest part but you get the hang of it pretty quickly. please let me know if you use this tutorial for some printing of your own, i'd love to see your results!
Wonderful explanation Leslie! I thought your prints were lino cuts like the one I messed up so I feel a little better that yours are so flawless. I have always fancied this, must give it a shot. So impressed how well you do things with two little ones around, my efforts at anything, when they were so young, were nowhere near as precise and organised as yours.
ReplyDeleteLeslie, this is a great tutorial.Would you mind if I linked? I get lots of questions whn I do screen printing and this is a perfect starting point for people.
ReplyDeletevic, i actually took these pics and meshed this screen in a frenzied 10 minutes while the kids ate lunch last weekend : )
ReplyDeletejodie, of course you can link to the tutorial! i'd be honoured!
Wow, never would have thought it could be that straight forward - thank you!!
ReplyDeleteI just found you via Jodie and this is just what I've been looking for - I'm desperate to learn screen printing and I'm having trouble finding a class!
ReplyDeleteIt makes it look so straightforward... Thanks for this, Leslie!
ReplyDeleteI love this I have been waiting for an easier and cheaper way to get my designs on clothing ect. I bought a heat press but it is so expensive to order my transfers so this will save me a ton. Do you use use stamps as well for your designs and do you use the that ink for your images for clothing is it washable many more questions. I am at 1wetlands@gmail.com thank you thank you!!
ReplyDeletethanks for this! very cool... I'm looking at mesh on ebay - what mesh size is best for printing on fabric?
ReplyDeleteTheir list goes 40 Mesh---count(16T)
60 Mesh---count(24T)
80 Mesh---count(32T)
100 Mesh---count(40T)
110 Mesh---count(44T)
120 Mesh---count(48T) and so on.
Hi Melanie, Good question! I use 43T mesh for most designs and a 70T for smaller scale stuff and 90T for really detailed work like small text (ex. my advent panels). The 43T (or 44T as per the shop you're looking at) is the easiest to print with on fabric, I find even the 70T is a bit harder to push the ink through.
ReplyDelete